How to Install a Hardwired EV Charger at Home (2026)
Learn how to install a hardwired EV charger at home in 2026: panel capacity checks, permits, licensed installers, and pairing with solar or battery.
Dan Katzman
Teamsun
A hardwired Level 2 charger needs a dedicated 40-50 amp circuit, a licensed electrician, and in most Connecticut, Massachusetts, and Rhode Island towns, an electrical permit before you flip the switch. Learning how to install a hardwired EV charger at home means checking your panel's spare capacity first, then sizing the circuit, pulling permits, and scheduling an inspection. Skip any of those steps and you risk a failed inspection, a voided warranty, or a fire hazard.
Key Takeaways
- Panel capacity comes first: Most homes need 60 amps of spare capacity on a 200-amp panel to safely add a 48-amp EV circuit without an upgrade.
- Permits are required almost everywhere: CT, MA, and RI towns require an electrical permit and inspection for hardwired 240V circuits; skipping this can void insurance claims.
- Unlicensed installers cause the most callbacks: Undersized wire gauge, missing GFCI protection, and no permit pull are the top three mistakes homeowners run into.
- Bundling with solar saves a truck roll: Pairing an EV charger install with a solar or battery project means one electrician, one panel upgrade, and one inspection instead of three.
- Typical installs finish same-day to two weeks: Panel upgrades add time; permit turnaround varies by town, generally 3-10 business days in the region.
Hardwired EV Charger Installation at a Glance
| Factor | Typical Range or Requirement |
|---|---|
| Circuit size | 40-50 amp dedicated circuit, 240V |
| Charger amperage | 32-48 amps (most home Level 2 units) |
| Wire gauge (copper) | #6 AWG for 50A circuits, #8 AWG for 40A |
| Permit required | Yes, in nearly all CT/MA/RI municipalities |
| Panel upgrade trigger | Less than 60A spare capacity on 200A panel |
| Install timeline (standalone) | Same day to 2 weeks, depending on permit turnaround |
| Install timeline (bundled with solar) | Folded into the ~47-day average project timeline |
| Inspection | Required after rough-in and after final connection |
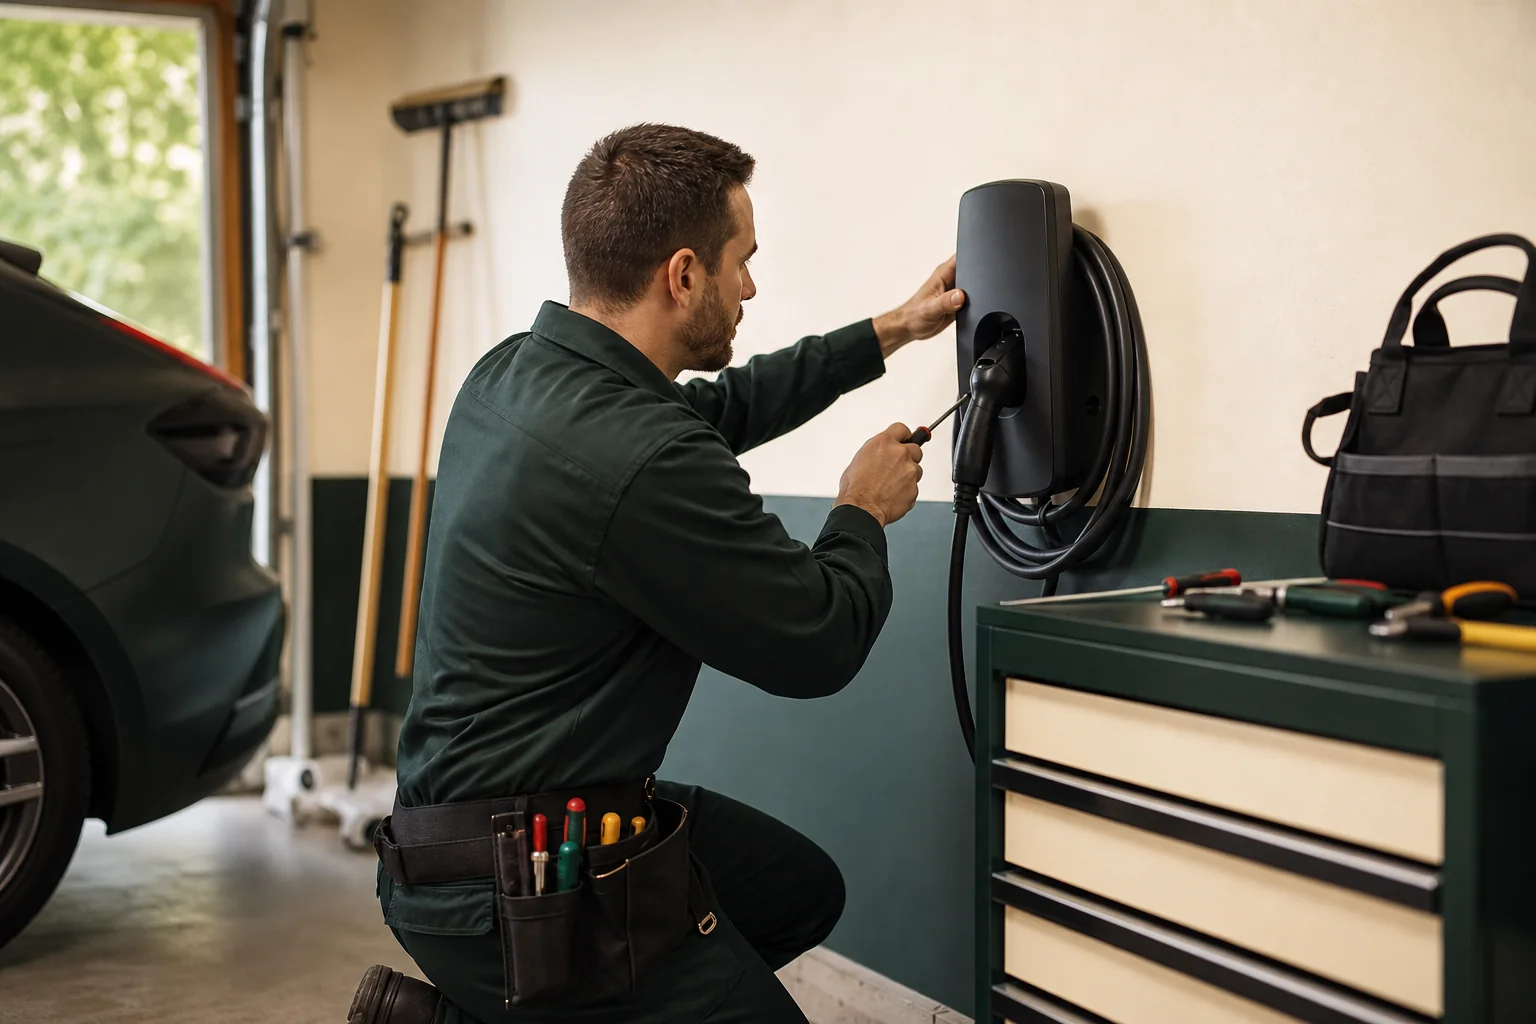
1. Check Your Electrical Panel Capacity First
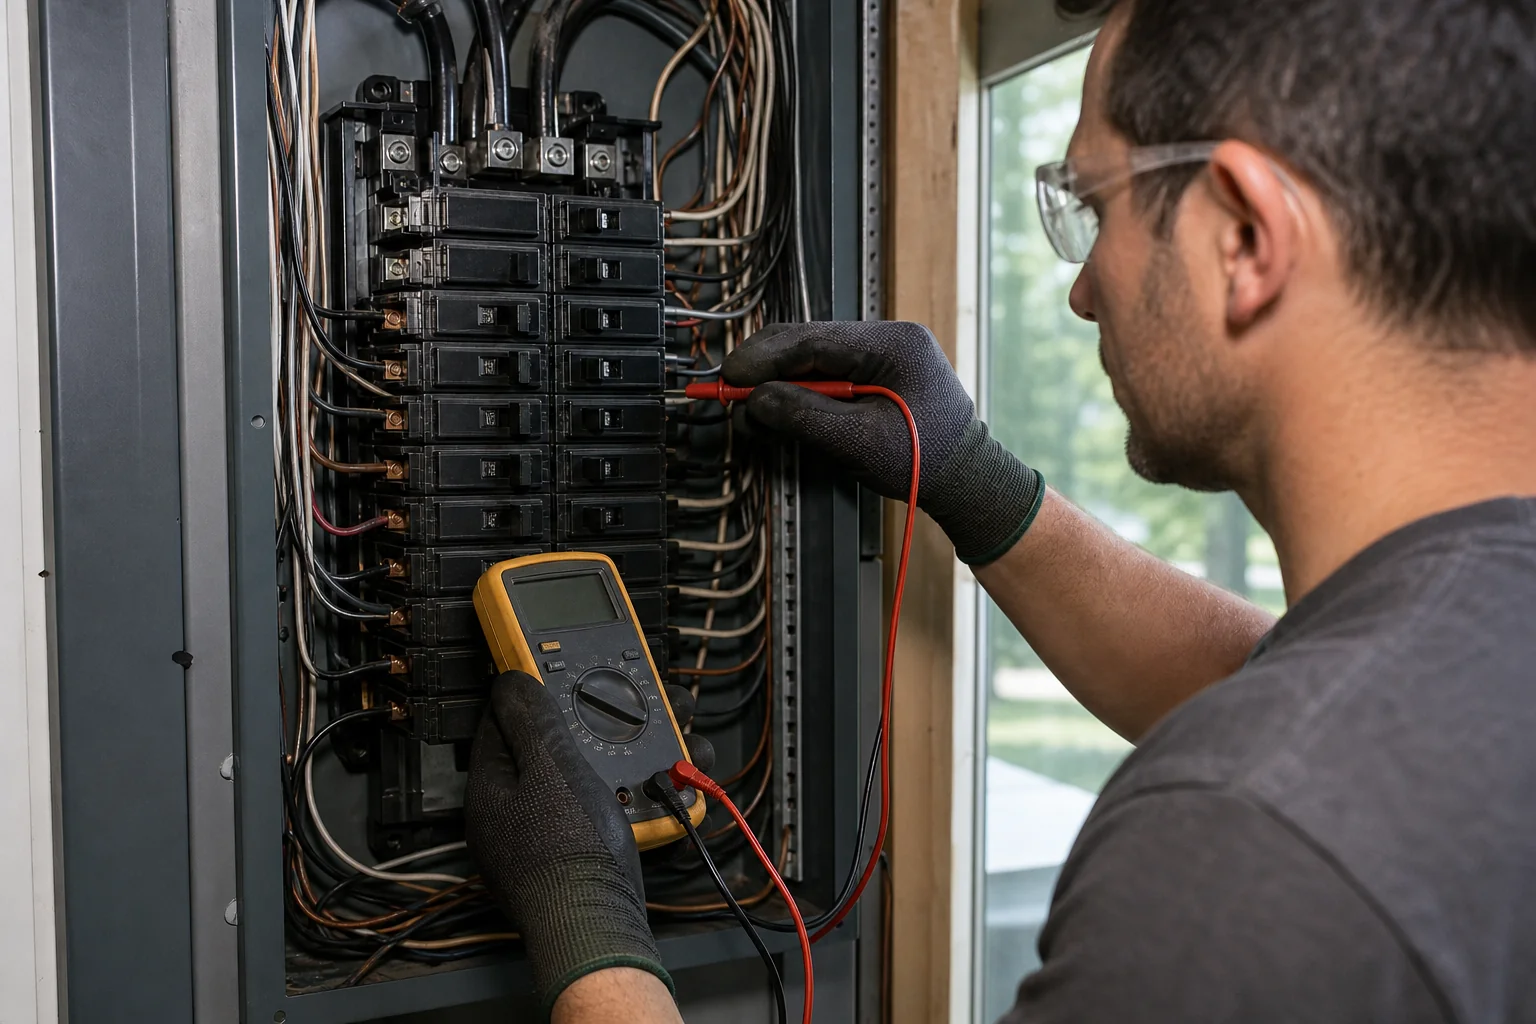
Before anyone talks about charger brands or mounting locations, the panel has to prove it has room. A licensed electrician runs a load calculation, following the method in NEC 220.83, to see how much of your panel's total capacity is already spoken for by your HVAC, water heater, range, and other big loads.
Most homes with a 200-amp panel and typical appliance loads have somewhere between 40 and 80 amps of headroom. A 48-amp EV charger circuit, sized at 60 amps to meet the National Electrical Code's continuous-load rule, needs that much spare capacity available. If your panel is older, at 100 amps, or already crowded with a heat pump and an electric range, you may need a panel upgrade before the charger circuit can go in at all.
Homeowners who already run high electric bills from an all-electric home should get this load calculation done regardless of whether they add a charger this year. If you're weighing whether your bill is high because of aging equipment or just genuine usage, it's worth comparing notes with a resource like how a solar battery retrofit works, since panel capacity questions come up in both projects.
2. Choose the Right Charger and Circuit Size
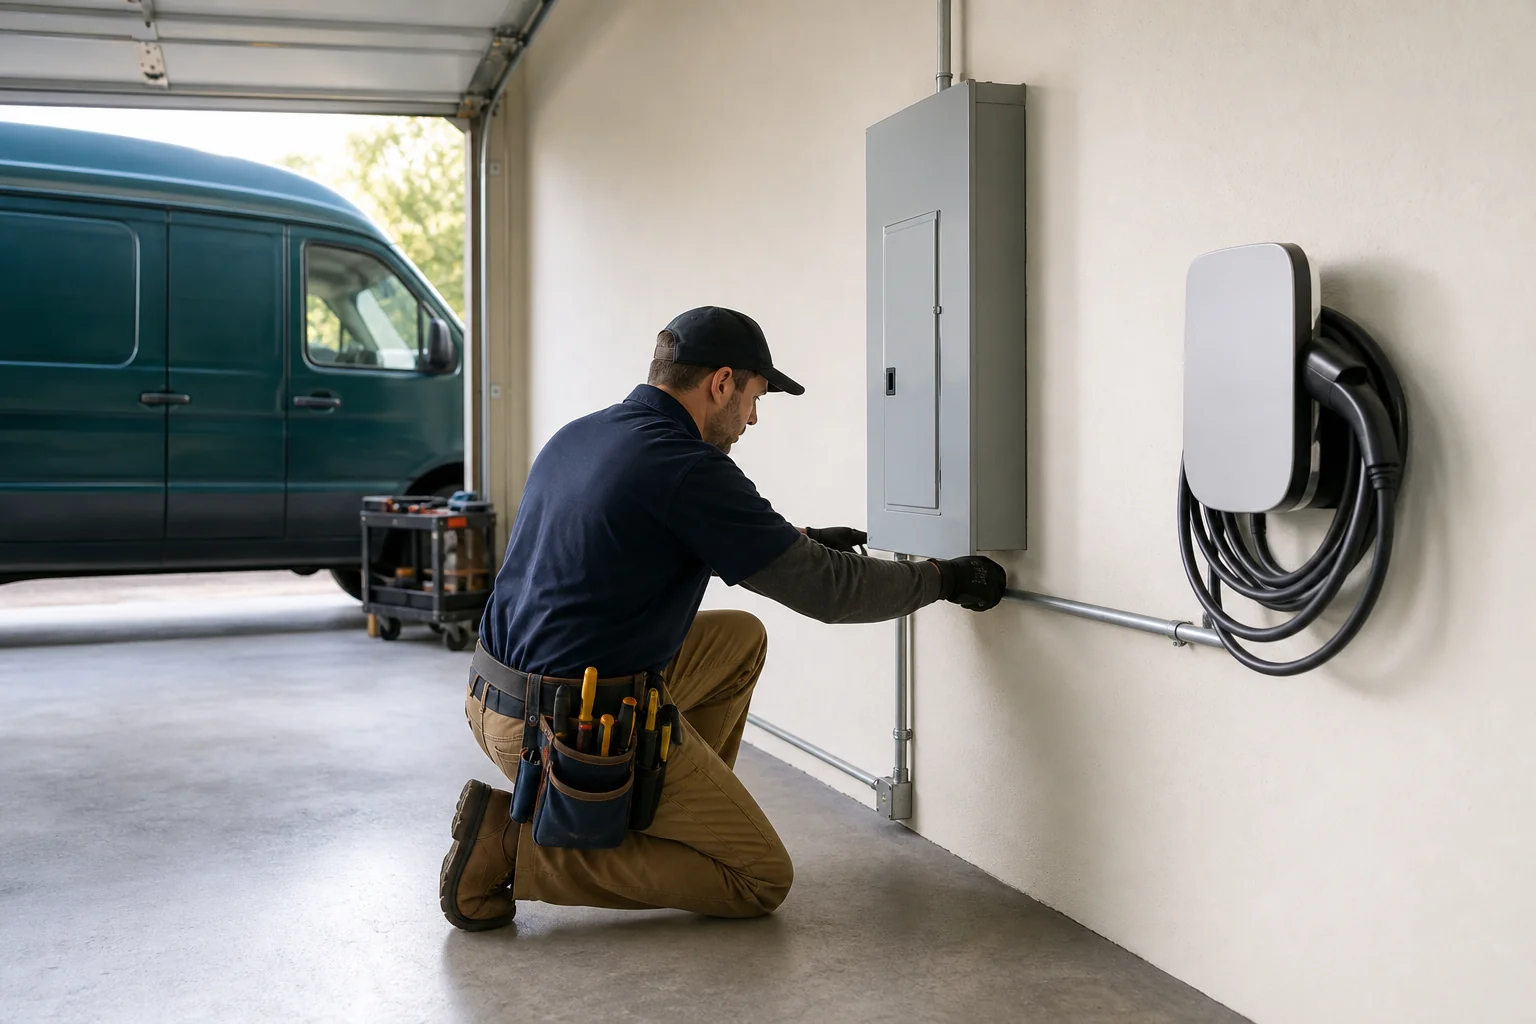
Hardwired chargers connect directly to a dedicated circuit with no plug in between, unlike a NEMA 14-50 plug-in unit that you could someday unplug and move. Hardwiring is generally the more reliable, code-preferred option for a permanent home installation, and many charger manufacturers require it to honor the full warranty.
Circuit sizing follows the 80% continuous-load rule: a charger that draws 40 amps continuously needs a breaker and wire rated for 50 amps. Common setups in the region:
- 32-amp charger: 40-amp breaker, #8 AWG copper wire
- 40-amp charger: 50-amp breaker, #6 AWG copper wire
- 48-amp charger: 60-amp breaker, #6 AWG copper wire (check manufacturer spec)
Mounting location matters too. Garage walls near the panel keep wire runs short and cheap. Exterior mounts need a weatherproof enclosure and, in coastal CT and RI towns, extra attention to corrosion-resistant hardware. If you're planning to buy a second EV in the next few years, size the circuit for the higher amperage now rather than redoing the work later.
3. Pull the Right Permits and Inspections
Nearly every town across Connecticut, Massachusetts, and Rhode Island requires an electrical permit for a new 240V circuit, and EV chargers are no exception. The permit process typically means the electrician files paperwork with the local building department, work gets inspected once at rough-in (if walls are opened) and again at final connection, and the inspector signs off before the charger is legally in service.
Skipping the permit is one of the most common shortcuts homeowners get talked into by installers looking to save time. It's also one that comes back to bite you: unpermitted electrical work can void your homeowner's insurance claim if a fire starts anywhere near that circuit, and it can stall a home sale when the buyer's inspector flags it. Some utilities also want notification if the new load could affect your service, particularly if you're also running solar with net metering, a topic covered in more depth in our guide on solar battery retrofits and panel interconnection.
4. Hire a Licensed Electrician, Not a Handyman
This is where most of the expensive mistakes happen. A general handyman or an unlicensed "electrician" might install the charger for less money upfront, but the corners they cut usually show up later: undersized wire gauge that overheats under continuous load, a missing GFCI or AFCI breaker where code requires one, or simply no permit pulled at all because the installer doesn't have a license to pull one under.
Ask any installer for their electrical license number before signing anything, and confirm they'll pull the permit themselves rather than asking you to. A legitimate electrician stands behind the work with a warranty and is on record with the town inspector. Teamsun uses in-house W-2 crews for EV charger installs rather than subcontractors, which matters here specifically because the same crew that shows up to install is accountable for the inspection and any follow-up service call.
The cheapest quote on an EV charger install is rarely the cheapest option once you count a failed inspection, a redone circuit, or an insurance denial after an electrical fire traced to unpermitted work.
5. Installation Day: What Actually Happens
A standalone hardwired charger install usually runs in a predictable sequence. First comes a short site visit or phone consultation to confirm panel location, charger placement, and rough distance for the wire run. Then the electrician schedules the permit and, if needed, the panel upgrade.
On install day, the crew shuts off power at the main panel, runs conduit or cable from the panel to the mounting location, terminates the wire at a new breaker, and hardwires the charger unit to the circuit. After testing for correct voltage and ground fault protection, the local inspector reviews the work either that day or on a scheduled follow-up visit. Once it passes, the charger is live.
Standalone jobs without a panel upgrade often finish in a single day, with the permit and inspection adding a few days to two weeks depending on your town's scheduling. When an EV charger is bundled into a larger solar or battery project, it's folded into that project's overall timeline, which for Teamsun customers averages 47 days from signed contract to power-on, since the electrical work, permitting, and utility coordination happen together instead of in separate trips.
6. Pairing Your EV Charger With Solar and Battery
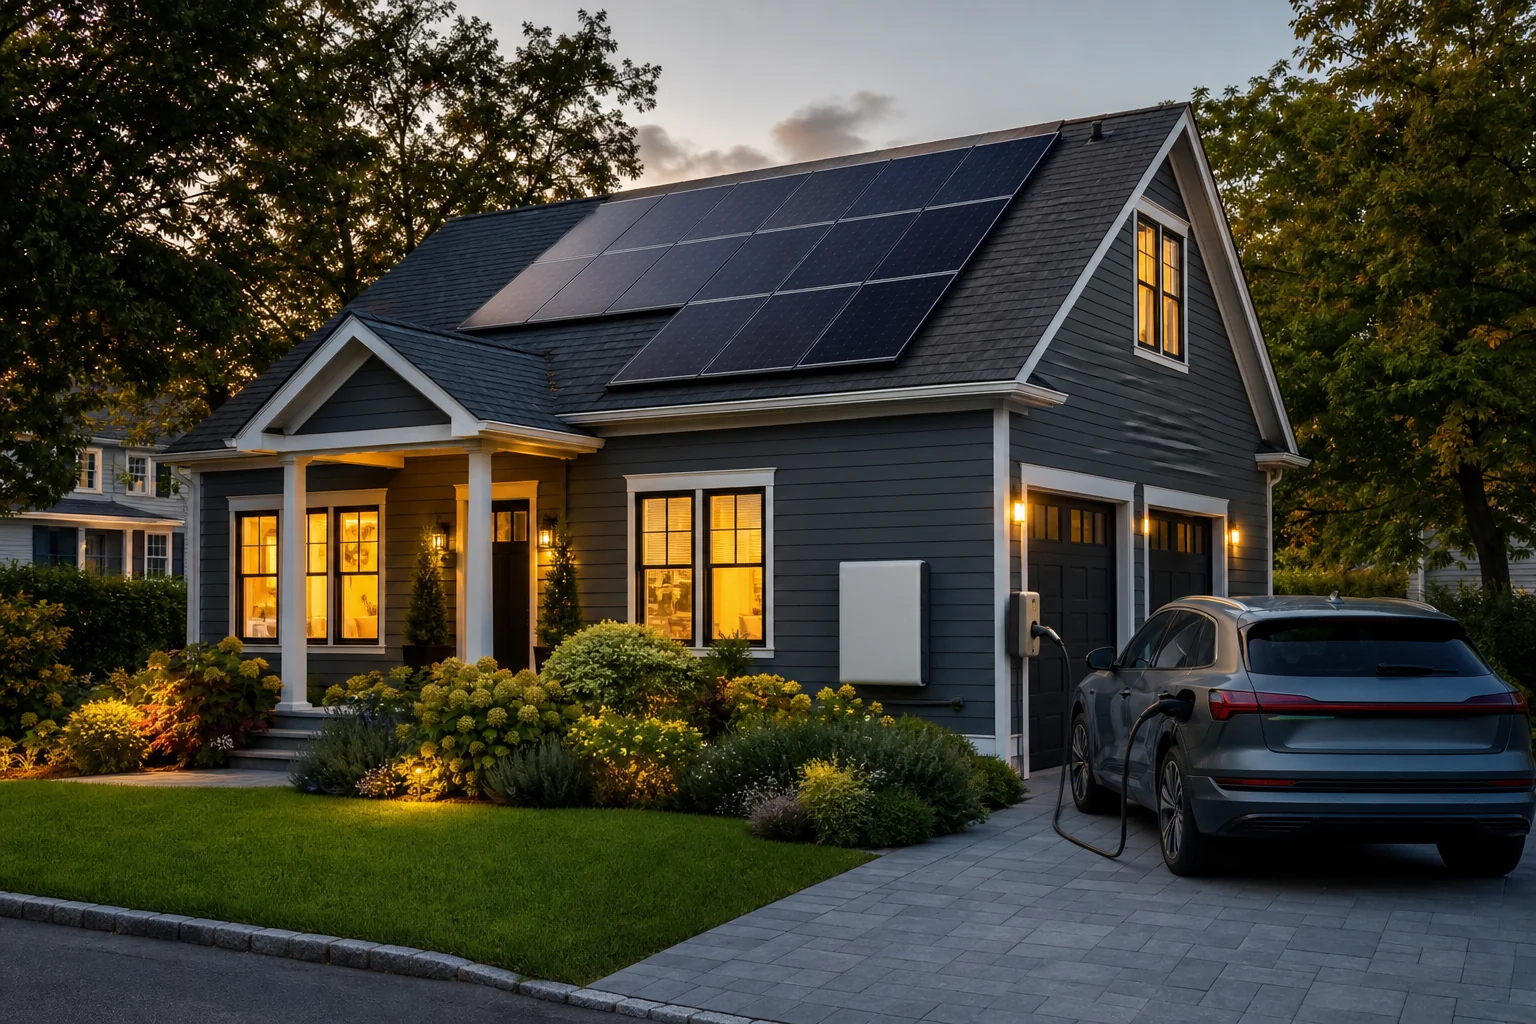
If you're already generating your own power or thinking about it, the EV charger conversation doesn't happen in isolation. A charger pulling 40-48 amps is one of the largest single loads in a home, right up there with central air. Pairing it with solar panels means more of that charging cost gets offset by your own production instead of pulled from the grid at retail rates.
Some installations use energy management systems that automatically shift EV charging to daytime hours when solar production is highest, or throttle charging speed to avoid overloading a panel that's also feeding a battery and the rest of the house. This matters more in older homes with 100-amp service, where adding solar, a battery, and an EV charger all at once can exceed what the existing panel can safely handle without an upgrade.
Bundling matters just as much on the cost side. A homeowner who installs solar this year and adds an EV charger next year pays for two separate electrician visits, two permit applications, and potentially two inspections. Doing both at once, or adding the charger during a solar or battery project, means one crew handles the panel assessment, one permit covers the work, and labor costs get spread across a single job instead of duplicated. For homeowners who already have panels from another installer and are considering a battery add-on, it's worth understanding how a solar battery retrofit works before deciding whether to fold the EV charger into that same project.
Battery storage adds one more practical benefit: during a grid outage, a charger tied only to grid power goes dark along with everything else. A charger paired with a battery system like a FranklinWH or Tesla Powerwall setup can keep charging, at a reduced rate, off stored solar power.
Common Mistakes Homeowners Make
- Skipping the load calculation: Assuming there's enough panel capacity without an actual calculation, then discovering mid-install that a panel upgrade is needed.
- Hiring based on price alone: Choosing the lowest bid without checking for a state electrical license, which often means no permit gets pulled.
- Undersizing the circuit: Installing a 32-amp charger circuit today when a near-term second EV purchase would have justified sizing for 48 amps from the start.
- Ignoring manufacturer warranty terms: Some EV charger manufacturers require professional hardwired installation with documentation to keep the warranty valid; a DIY or unlicensed install can void it.
- Treating solar and EV charging as separate projects: Missing the chance to combine panel work, permitting, and labor into a single job when both are on the near-term to-do list.
Frequently Asked Questions
Do I need a permit to install a hardwired EV charger at home?
In nearly every Connecticut, Massachusetts, and Rhode Island municipality, yes. A licensed electrician pulls the permit and schedules the required inspection before the charger goes into service.
How much does hardwired EV charger installation cost?
Cost depends heavily on wire run distance, whether a panel upgrade is needed, and local permit fees. Ask a licensed installer for a site-specific quote rather than relying on national average figures, since panel condition varies widely home to home.
Can I add a hardwired EV charger to an existing solar system installed by another company?
Yes. An electrician can evaluate your existing panel and solar setup regardless of who installed the panels, and size the new circuit accordingly. This is common enough that Teamsun services and upgrades systems of any brand.
How long does the whole process take?
A standalone install without a panel upgrade often takes a single day for the electrical work, plus a few days to two weeks for permit and inspection scheduling. Bundled with solar or battery work, it's built into the overall project timeline.
Is 240V hardwiring better than a 120V plug-in charger?
For daily EV charging, yes. A 240V Level 2 hardwired circuit charges roughly 5-7 times faster than a standard 120V outlet and is the setup most EV manufacturers recommend for home use.
If you're planning an EV charger install, whether on its own or alongside a solar and battery project, get the electrical assessment done by a crew that pulls its own permits and stands behind the inspection. Explore Teamsun's EV charger and solar services to see how panel upgrades, permitting, and installation get handled by one in-house team instead of three separate contractors. Ready to see what your home's panel can support? Request a free quote, talk to a designer about pairing your charger with solar, or call 203-903-4091 to get your load calculation started this week.
Written by
Dan Katzman
Teamsun
Teamsun writes practical solar guidance to help property owners compare equipment, project scope, costs, and long-term service before making a decision.
Keep going.
When Should You Upgrade an Older Solar System?
Signs it's time for a solar system upgrade for older panels, from declining output to inverter age. Learn what Teamsun checks before recommending changes.
Dan Katzman
Teamsun
Tesla Powerwall vs FranklinWH: Which Battery Wins in 2026?
Tesla Powerwall vs FranklinWH battery: compare capacity, backup power, warranty, and cost to find the right storage system for your CT, MA, or RI home.
Dan Katzman
Teamsun