How Does a Solar Battery Retrofit Work? 2026 Guide
Learn how does a solar battery retrofit work, from compatibility checks to activation. See equipment options, permitting steps, and install-day timelines.
Dan Katzman
Teamsun
A solar battery retrofit works by connecting a new battery to your existing solar panels through either an AC or DC coupling method, then routing backup power through your main electrical panel or a dedicated subpanel. The process runs from a site survey through permitting, installation, and utility activation, typically taking four to eight weeks depending on your town's approval timeline. It works on almost any existing solar system, regardless of who installed it.
Key Takeaways
- Installer doesn't matter: A battery can be retrofitted onto a solar system originally installed by Sunrun, SunPower, Trinity, or any other company, as long as the inverter and panel output are documented.
- AC-coupling is the most common retrofit method: It works with nearly any existing inverter brand, while DC-coupling usually requires matching or replacing the inverter.
- Timeline runs 4-8 weeks: That covers the site survey, permitting with your town and utility, physical installation (often just 1-2 days), inspection, and Permission to Operate (PTO).
- Federal tax credit still applies: Standalone battery retrofits qualify for the 30% federal Investment Tax Credit under current IRS guidance, separate from your original solar purchase.
- Electrical panel capacity is the biggest wildcard: Older 100-amp panels sometimes need an upgrade before a battery can be added, which affects both cost and schedule.
Solar Battery Retrofit At a Glance
| Stage | Typical Duration | Who Handles It | Key Notes |
|---|---|---|---|
| Compatibility & site survey | 1 day visit | Installer (e.g., Teamsun) | Checks inverter type, panel age, main panel capacity |
| Battery selection & design | 2-5 days | Installer + homeowner | FranklinWH, Tesla Powerwall 3, or Enphase IQ Battery |
| Permitting | 1-4 weeks | Installer files, town/utility approves | Varies by CT, MA, RI municipality |
| Installation | 1-2 days | Licensed electricians | Battery mounting, wiring, subpanel work if needed |
| Inspection | 1-7 days after install | Local building/electrical inspector | Required before utility will energize the system |
| Utility Permission to Operate | 1-3 weeks | Utility company | Final step before battery is legally active on the grid |
| Federal ITC eligibility | Filed at tax time | Homeowner | 30% credit on battery equipment and labor, per current IRS rules |
Homeowners across Connecticut, Massachusetts, and Rhode Island are asking the same question this year: can I add a battery to solar panels I already own, even if another company installed them? The short answer is yes, in almost every case. The retrofit process is well established, and it doesn't require ripping panels off your roof or starting from scratch. What it does require is a methodical sequence of checks, paperwork, and wiring work that most homeowners have never seen up close. Here's exactly how it unfolds, step by step.
1. Confirm Your System Is a Retrofit Candidate
Before anyone talks about battery brands or pricing, a retrofit starts with a hard look at what's already on your roof. A technician needs to document three things: your inverter type, your panel age and output, and the capacity of your main electrical service.
String inverters and microinverters behave differently when a battery gets added. Systems with a central string inverter (common in installs from the mid-2010s) are usually the easiest to retrofit with AC-coupled batteries. Systems built around microinverters, like older Enphase setups, may call for a different battery pairing so the two systems can talk to each other correctly. Neither situation disqualifies you, but it does change which battery makes sense.
Your main electrical panel matters just as much as the solar equipment itself. A lot of homes in older New England neighborhoods still run 100-amp service. Adding battery storage, especially a whole-home backup setup, sometimes pushes that panel past its safe capacity, which means a panel upgrade becomes part of the job. It's not a dealbreaker, just a line item worth knowing about before you commit to a battery size.
One point worth repeating: it genuinely does not matter which company put your panels on the roof. Whether it was a national brand or a local outfit that's since gone out of business, the retrofit process only cares about what's physically installed and whether it's documented well enough to design around. Teamsun's crews service and retrofit systems of any age and any brand, which is more the exception than the rule among installers who prefer to only touch equipment they originally sold.

2. Choose the Right Battery for Your Existing Setup
Once your system's been assessed, the next decision is which battery to pair with it. This comes down to two wiring approaches: AC-coupled and DC-coupled.
AC-coupled batteries connect to your home's electrical system independently of your solar array's existing inverter. Your panels keep doing what they've always done, and the battery has its own small inverter built in to manage charging and discharging. This is why AC-coupling is the default choice for most retrofits: it works regardless of what inverter brand you already have.
DC-coupled systems tie the battery directly into the DC side of the solar circuit, ahead of the inverter. This can be more efficient in some cases, but it usually only works if your existing inverter is compatible or gets replaced. For most retrofit customers, that added cost and complexity isn't worth the marginal efficiency gain.
Battery Options Worth Comparing
- FranklinWH: Uses an AC-coupled design through its aGate energy management hub, which makes it a strong fit for retrofits onto almost any existing solar brand. It supports whole-home backup and stacks well if you want to add a second unit later.
- Tesla Powerwall 3: Can operate as an AC-coupled retrofit battery and includes an integrated inverter, which simplifies some installs. It's a popular choice for homeowners who want a single, well-known brand name and tight app integration.
- Enphase IQ Battery: Pairs most naturally with existing Enphase microinverter systems, since both use the same communication protocol. If your original solar install already runs on Enphase microinverters, this is often the most seamless retrofit path.
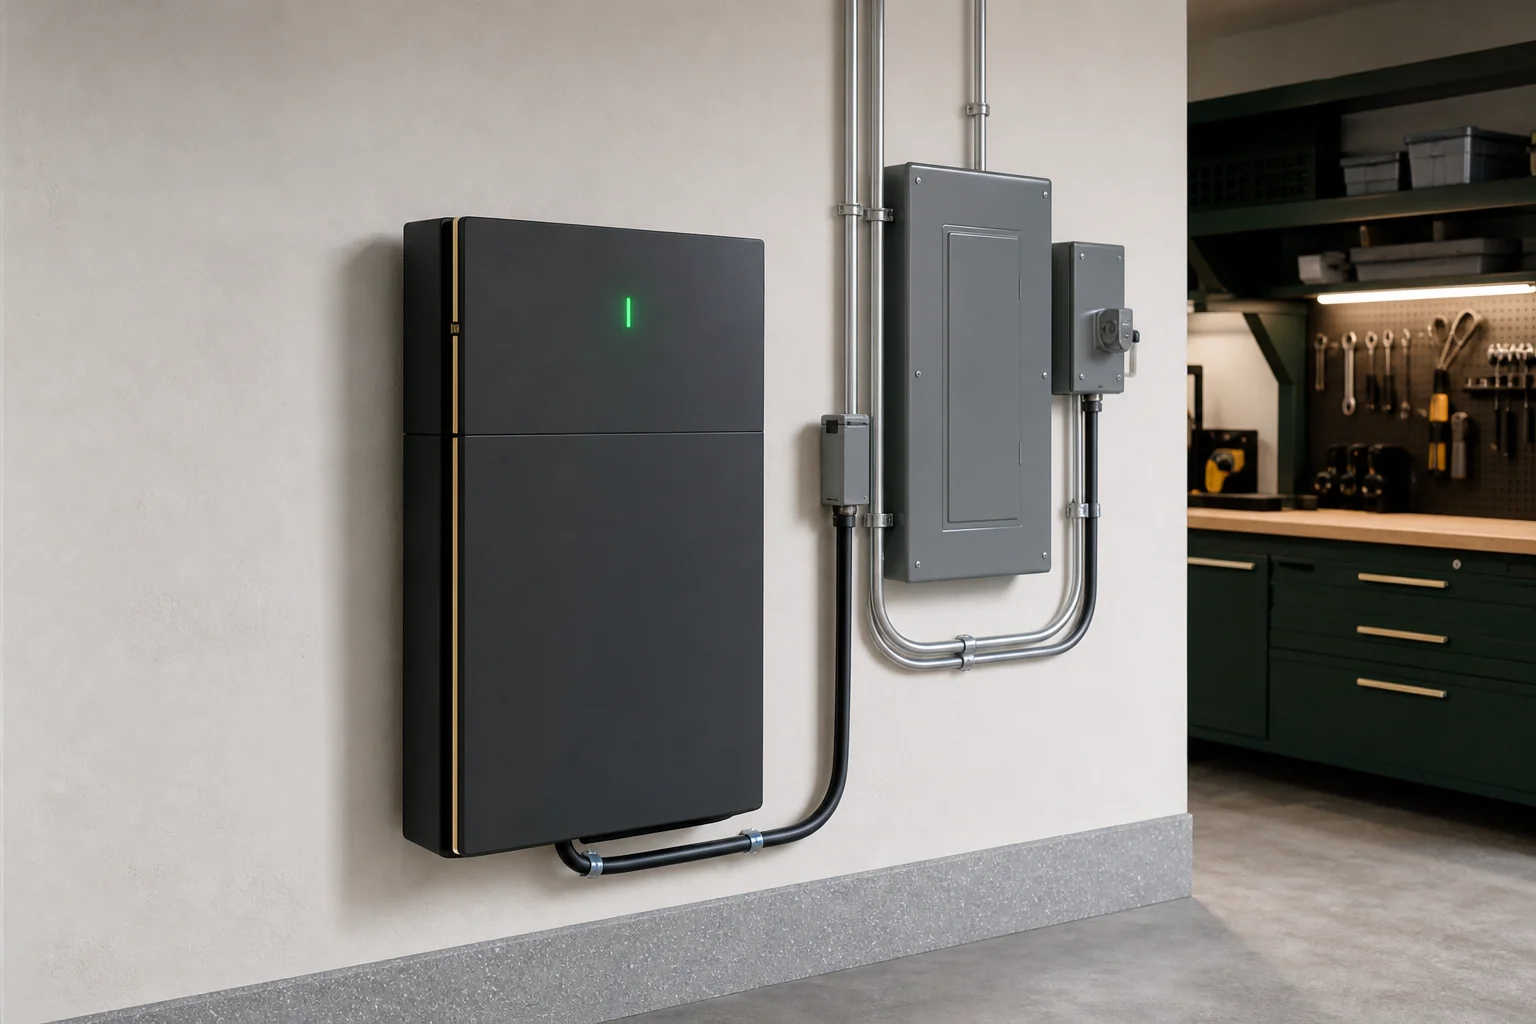
Capacity is the other half of the decision. Homeowners generally choose between whole-home backup, where the battery is sized and wired to carry the entire house through an outage, and partial backup, where only critical circuits (fridge, well pump, medical equipment, a few outlets) stay powered. Whole-home backup costs more and may require more than one battery, but it means you don't have to think about what's plugged in during an outage. Partial backup is more affordable and still solves the core problem most people care about: keeping the essentials running when the grid goes down.
3. Get a Site Survey and Engineering Design
With a battery brand selected, a licensed installer conducts a more detailed site survey. This is where the plan turns into an actual electrical design. The survey covers the physical path wiring will take from your solar array to the battery, and from the battery to your main panel or a new subpanel. It also covers where the battery itself will physically live, garage, basement, or exterior wall, since local fire codes set clearance requirements around windows, doors, and vents.
A load calculation happens here too. The installer figures out exactly which circuits you want backed up and whether your chosen battery's output can handle them simultaneously, particularly for high-draw appliances like electric ranges, well pumps, or heat pumps. This is also the stage where a designer will flag whether a panel upgrade is needed, so there are no surprises once installation starts.
Finally, this design gets translated into the utility interconnection application, the formal paperwork that tells your utility company (Eversource, United Illuminating, National Grid, or your local municipal utility) exactly what equipment is being added to their grid.
4. Permitting and Utility Approval
This is the step that trips up a lot of homeowners who try to DIY the process or hire an inexperienced contractor. Adding battery storage requires two separate approvals: a local building or electrical permit from your town, and an interconnection amendment from your utility.
Permitting requirements vary by municipality across Connecticut, Massachusetts, and Rhode Island. Some towns turn around residential electrical permits in a few days; others take several weeks, especially during summer months when permitting offices are backlogged with solar and HVAC projects. Utility interconnection review adds its own timeline on top of that, since the utility needs to confirm your battery addition doesn't create a safety issue for their grid, and in some cases, needs to update your net metering agreement to reflect the new equipment.
According to the U.S. Department of Energy, interconnection standards are established at the state level, which is why timelines and requirements differ even between neighboring New England states. The Interstate Renewable Energy Council tracks these state-by-state interconnection rules and is a useful reference if you want to understand your state's specific process in more depth.
An experienced local installer manages this paperwork on your behalf, which matters more than it sounds. Filing an incomplete or incorrectly formatted interconnection application is one of the most common reasons retrofit projects stall for weeks. Teamsun's crews handle permitting and utility paperwork directly, which is part of why the company can hold to a fast, predictable install timeline instead of leaving homeowners to chase down approvals themselves.
5. Installation Day: What Actually Happens
Once permits and utility approval are in hand, installation itself is the fastest part of the whole process. For a single battery retrofit, most jobs take one to two days from start to finish.
The day starts with a safe shutdown of your existing solar system. Electricians de-energize the array and the relevant section of your main panel before any wiring work begins, a standard safety procedure regardless of which battery is being installed. From there, the crew mounts the battery in its designated spot, whether that's a garage wall, basement, or exterior mounting bracket rated for New England weather conditions.
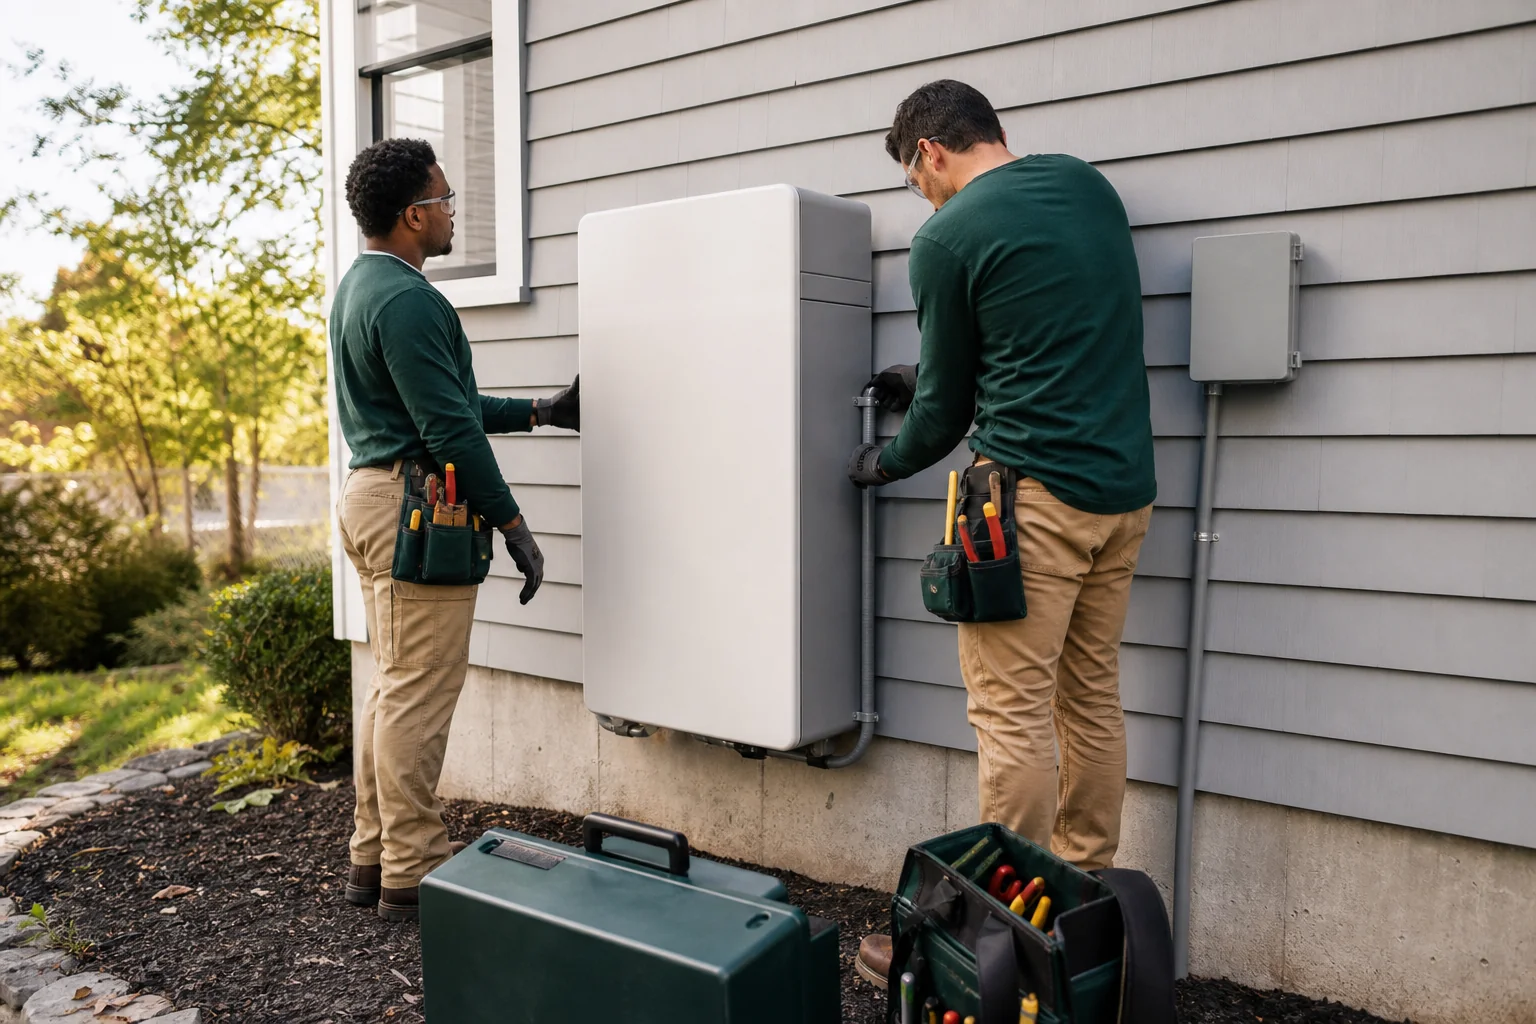
Wiring comes next: connecting the battery to the existing solar array's output, then running conductors to the main panel or a new backup subpanel if the design calls for one. If a panel upgrade was identified during the site survey, that work typically happens on the same visit. Crews test connections, confirm the battery communicates properly with the existing inverter setup, and label everything clearly for the inspector who'll review it afterward.
This is also where the difference between in-house crews and subcontracted labor shows up most clearly. Teamsun uses W-2 electricians employed directly by the company rather than a rotating bench of subcontractors, which means the crew showing up on install day has direct accountability to the business, not a third-party staffing arrangement. That matters for a job like a battery retrofit, where wiring quality and code compliance directly affect whether your system passes inspection on the first attempt.
6. Commissioning, Inspection, and Activation
Installation isn't the finish line. After the physical work is done, your local Authority Having Jurisdiction (AHJ), typically your town's building or electrical inspector, needs to sign off on the work. This inspection confirms the wiring meets National Electrical Code requirements and matches the permit that was filed.
Once the inspection passes, the utility issues what's called Permission to Operate (PTO) for the battery addition. This is a distinct approval from your original solar PTO, since you're adding new equipment to the grid-connected system. Only after PTO is granted can the battery legally begin charging from solar and discharging to your home or the grid.
The final step is commissioning: the installer sets up the battery's monitoring app, configures backup circuit priorities, and typically runs a simulated outage test so you can see the transfer switch working in real time. This is the moment most homeowners actually care about, watching the lights stay on when the crew flips off the main breaker to simulate a grid outage. It's also when you get a walkthrough of the app so you can track charge levels, solar production, and backup status from your phone going forward.
7. Costs, Incentives, and Financing for Retrofits
Retrofit costs vary based on battery brand, capacity, whether a panel upgrade is needed, and local labor rates. What's consistent is the incentive structure available to homeowners adding storage in 2026.
The federal Residential Clean Energy Credit, commonly called the federal ITC, currently allows a 30% tax credit on battery storage equipment and installation labor, even when the battery is added separately from the original solar purchase. The U.S. Department of Energy's guidance on home battery storage confirms that standalone storage retrofits qualify under current federal rules, which is a meaningful incentive for homeowners who didn't include a battery in their original solar contract.
State-level incentives add another layer. Connecticut, Massachusetts, and Rhode Island each maintain their own storage incentive programs and net metering rules that can affect the economics of a retrofit, and these programs are updated periodically, so it's worth confirming current terms before finalizing a design.
Financing is often the deciding factor for homeowners weighing whether to move forward. Options typically include:
- Cash purchase: No interest costs, full ownership of the battery from day one, and full eligibility for the federal ITC.
- Solar or battery loan: Spreads the cost over several years while still allowing the homeowner to claim available tax credits.
- PPA (Power Purchase Agreement): Lets homeowners add battery storage with little to no upfront cost, though eligibility depends on credit approval. Teamsun underwrites PPAs with a 620 FICO minimum, which opens the door for homeowners that stricter lenders turn away.
- Prepaid lease: A middle-ground option for homeowners who want predictable costs without a full loan commitment.
Homeowners with less-than-perfect credit are often surprised to learn how many installers simply won't work with them. A 620 FICO minimum on PPA financing is meaningfully more accessible than the 700-plus thresholds some national installers require, which matters for a real slice of homeowners trying to reduce their electric bills but getting turned away elsewhere.
Frequently Asked Questions
Can I add a battery to a system installed by another company?
Yes. As long as the existing panels, inverter, and wiring can be documented during a site survey, a battery retrofit doesn't require the original installer to be involved. Teamsun services and retrofits systems from any installer, including national brands and companies that may no longer be in business.
How long does a battery retrofit take from quote to activation?
Most retrofits run four to eight weeks total, with permitting and utility approval accounting for most of that time. Physical installation itself usually takes only one to two days.
Will retrofitting void my existing solar warranty?
It depends on the original manufacturer's warranty terms and how the retrofit is wired. A qualified installer will review your existing warranty documentation during the site survey and flag any concerns before work begins, rather than after the fact.
Do I need a new inverter to add battery storage?
Not usually. Most retrofits use AC-coupled batteries, which add their own small inverter and don't require replacing your existing solar inverter. DC-coupled retrofits are the exception and typically do require inverter compatibility or replacement.
Can I add more than one battery later?
Many battery systems, including FranklinWH and Tesla Powerwall 3, are designed to stack additional units. If whole-home backup isn't in the budget now, starting with one battery and expanding later is a reasonable path, as long as the initial design accounts for future expansion.
A battery retrofit is a well-defined process, not a mystery, but it does require an installer who's comfortable working with equipment they didn't originally sell. If you're sitting on a solar system that's been quietly making power for years without any backup protection, the path to changing that is shorter than most homeowners expect. Request a free quote to get a real assessment of your system's retrofit compatibility, or talk to a designer about whether FranklinWH, Tesla Powerwall, or Enphase IQ makes the most sense for your home. You can also check your town to confirm Teamsun services your area across Connecticut, Massachusetts, Rhode Island, and beyond, browse the full lineup of solar and battery services, or call 203-903-4091 to start the conversation today.
Written by
Dan Katzman
Teamsun
Teamsun writes practical solar guidance to help property owners compare equipment, project scope, costs, and long-term service before making a decision.
Keep going.

When Should You Upgrade an Older Solar System?
Signs it's time for a solar system upgrade for older panels, from declining output to inverter age. Learn what Teamsun checks before recommending changes.
Dan Katzman
Teamsun
Tesla Powerwall vs FranklinWH: Which Battery Wins in 2026?
Tesla Powerwall vs FranklinWH battery: compare capacity, backup power, warranty, and cost to find the right storage system for your CT, MA, or RI home.
Dan Katzman
Teamsun